Wikipedia talk:Graphics Lab/Resources/QGis lesson : Archives
THIS IS AN ARCHIVE. SUPERSED.
Step 5: Output your map, aka using the Print composer edit
This section is to redo (update/upgrade)
|
|---|
.png) You are now working with QGis, your GIS data—namely, ETOPO1—and your customized palette. To output your first topographic background, don't use File > Save as Image, which is a simple screenshot. For better quality, use the Print composer. This step will walk you through outputting a map like the one you see on the right, including a grid and an inset that lets the viewer know where in the world this section is located.
Placing the main section for outputIn the print composer:
Adding a grid
Adding a localizer inset
|
Visual step-by-step edit
![]() In progress
In progress
-
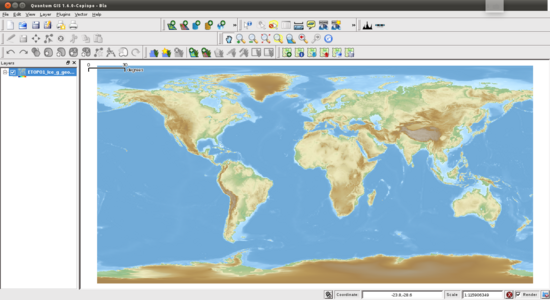
 0. Starting point (QGIS, not Print composer): Data are ready an using the correct colormap.
 -
 01. File > New Print composer (Ctrl+P) > (you have a white page) > icon 'Add new map' > draw the diagonal of the area for your map
 -
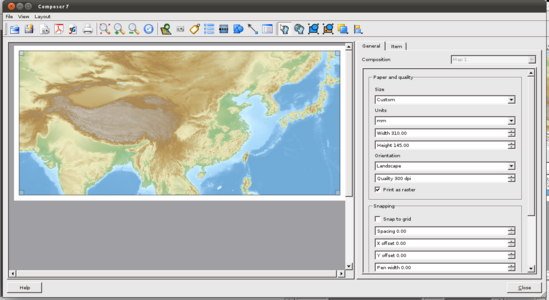
 02. Choice the page size (mm) and quality (dpi) : higher means better quality.
 -
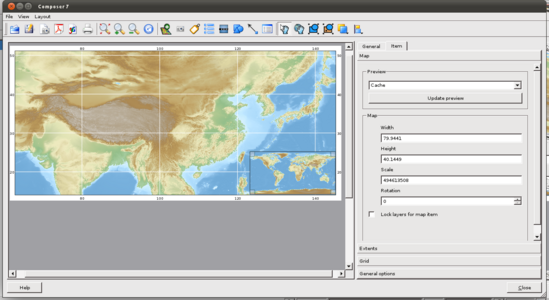
 03. Centering the map
 -
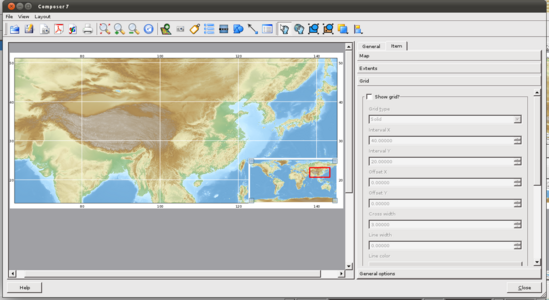
 04. Grid tab, add grid.
 -
 05. Grid tab, add annotations
 -
 06. Starting point for the localizator BUT white border in the tab : this is troublesome.
 -
 06. Starting point for the localizator without white in the maptab : Great !
 -
 07. icon 'Add new map' > draw the diagonal of the area for your map (same than 01)
 -
 08. Icon 'Add basic shape' > trace a shape > change to rectangle
 -
 09. Final look.
 -
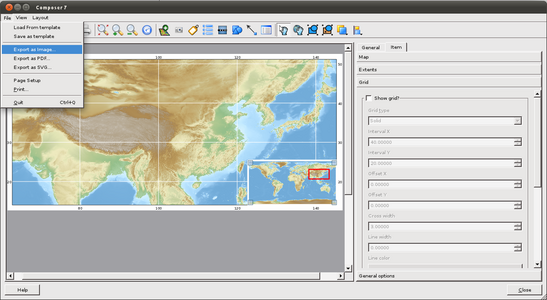 10. Save as png.
 -
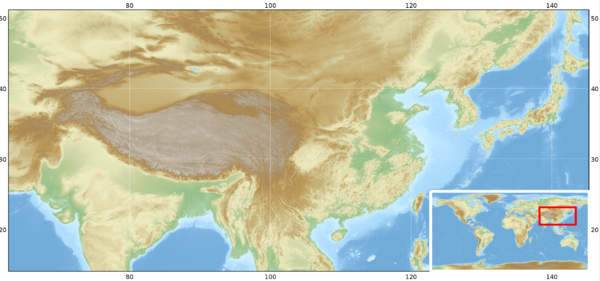 11. QGis Print composer's Final high quality output (you can zoom in !)


.png)
.png)


